London Trip

So my husband and I did this honeymoon do-over (let’s not talk about the first one, which was full of sickness and tropical storms) in August. Yes, that is over two months ago. My life has been crazy busy.

London was fantastic. We did so much in the nine days we were there, but could definitely have spent more time.

Not only did I most definitely find a knitting store:

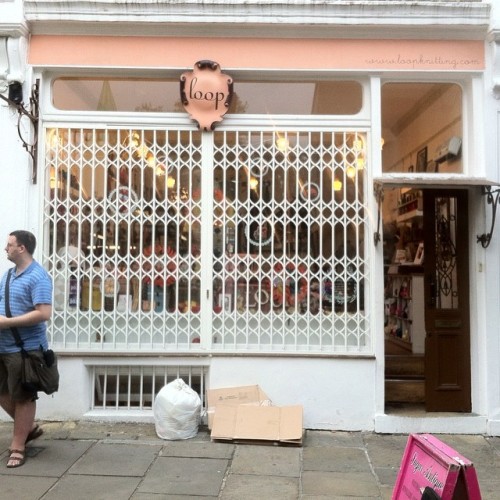
from whence I got some lovely English yarn.

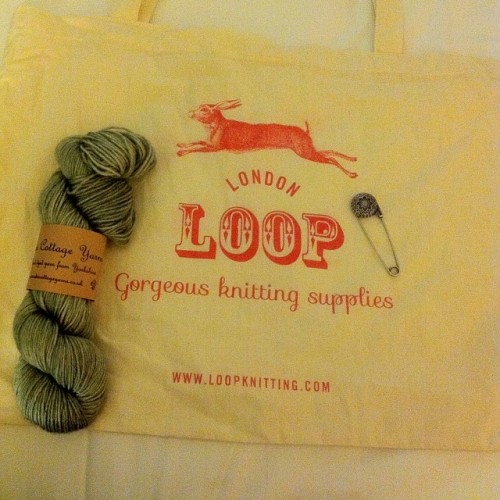
(it’s called Bowland DK by Eden Cottage Yarns. I fell in love with the colour. I also picked up a shawl pin, plus they gave me the bag for free!)

but I also chronicled my fibre-related exploits for y’all. In true librarian fashion.

The sign says:

               This door was at Westminster Abbey, if you’re curious.

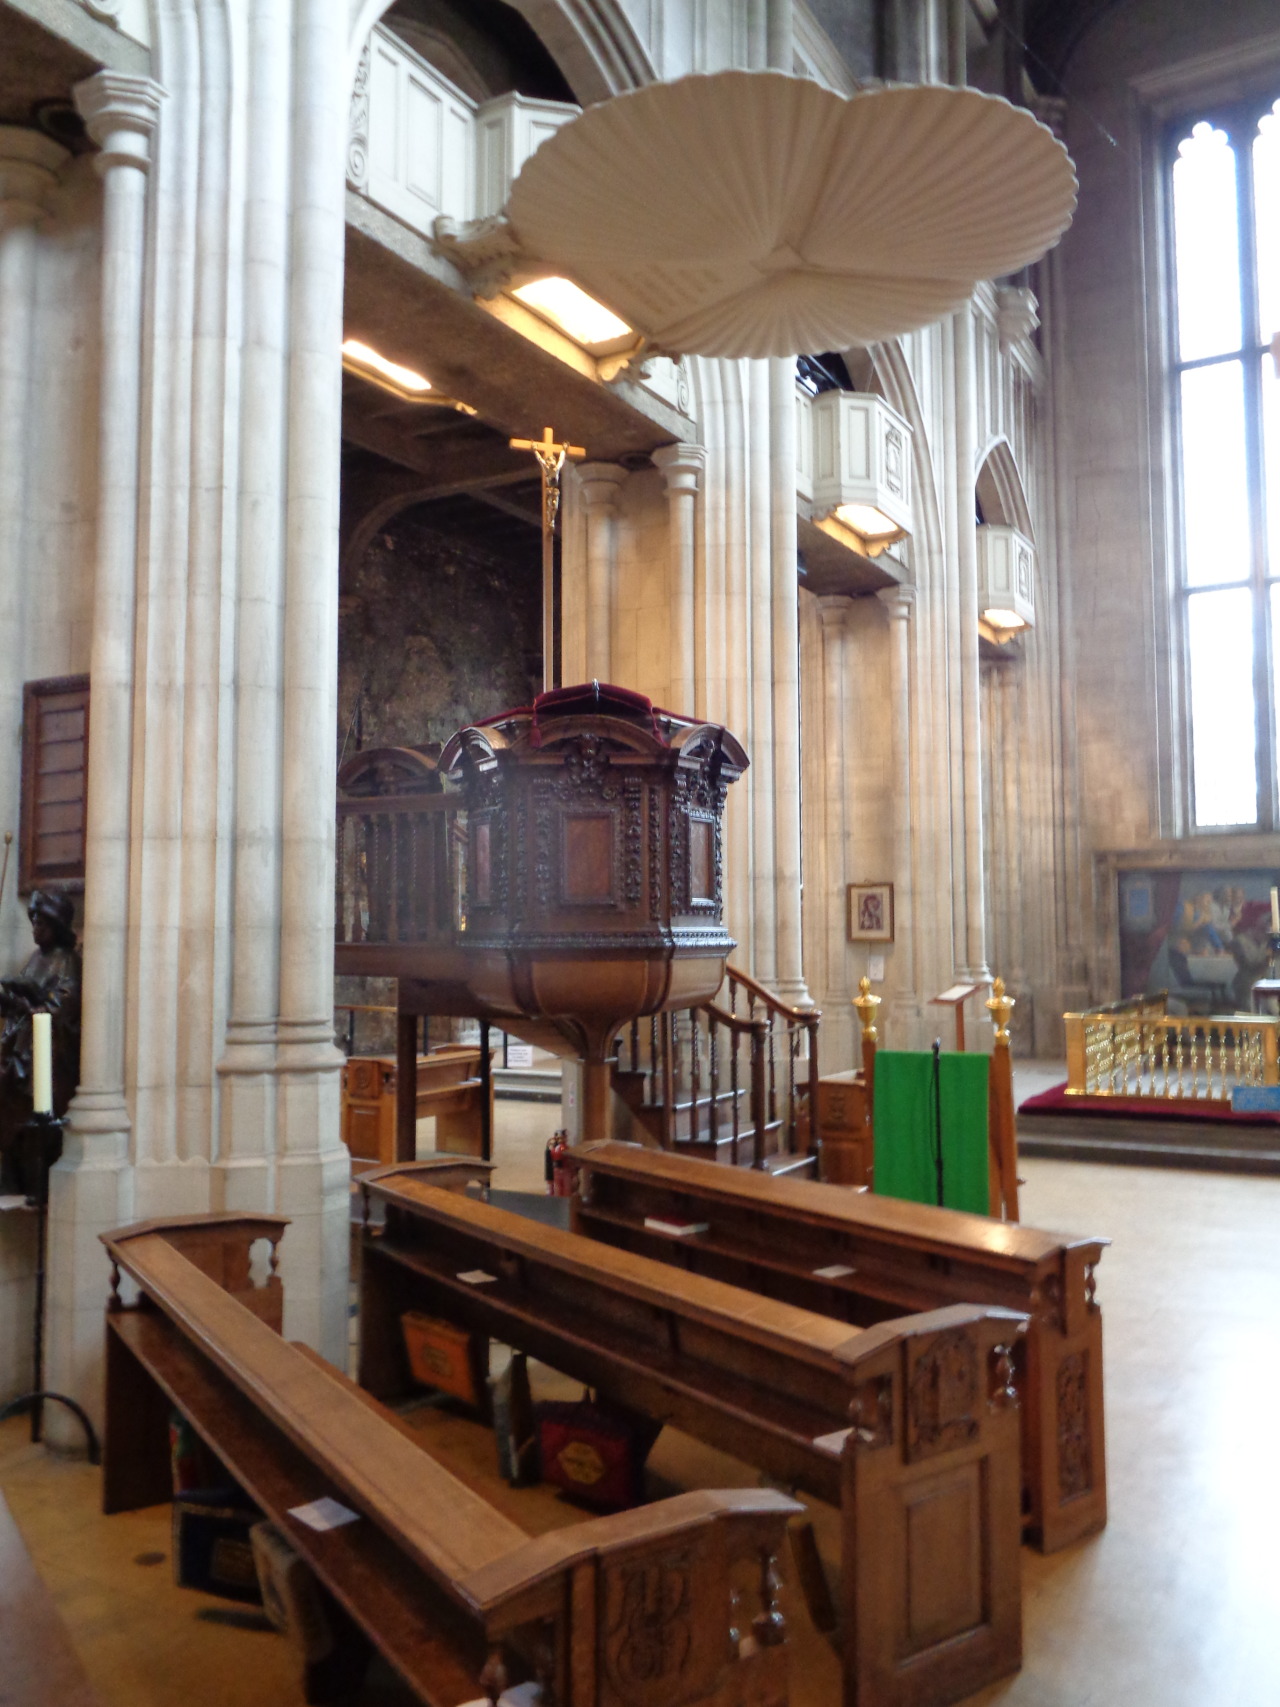
I’ll start with a very cool find at All Hallows-by-the-Tower. Though it’s right by the Tower of London, it’s easy to miss. I only found out about it through an obscure blog post. Even my guide book didn’t mention it, but it’s totally worth a visit. Not just for the fibre-craft related objects I’m going to show you, but it’s a beautiful old church. In fact it’s the oldest in London. It was built on the remains of a Roman house and road, which you can still see in the basement. An added bonus? It’s one of the few churches that lets you take photos inside.

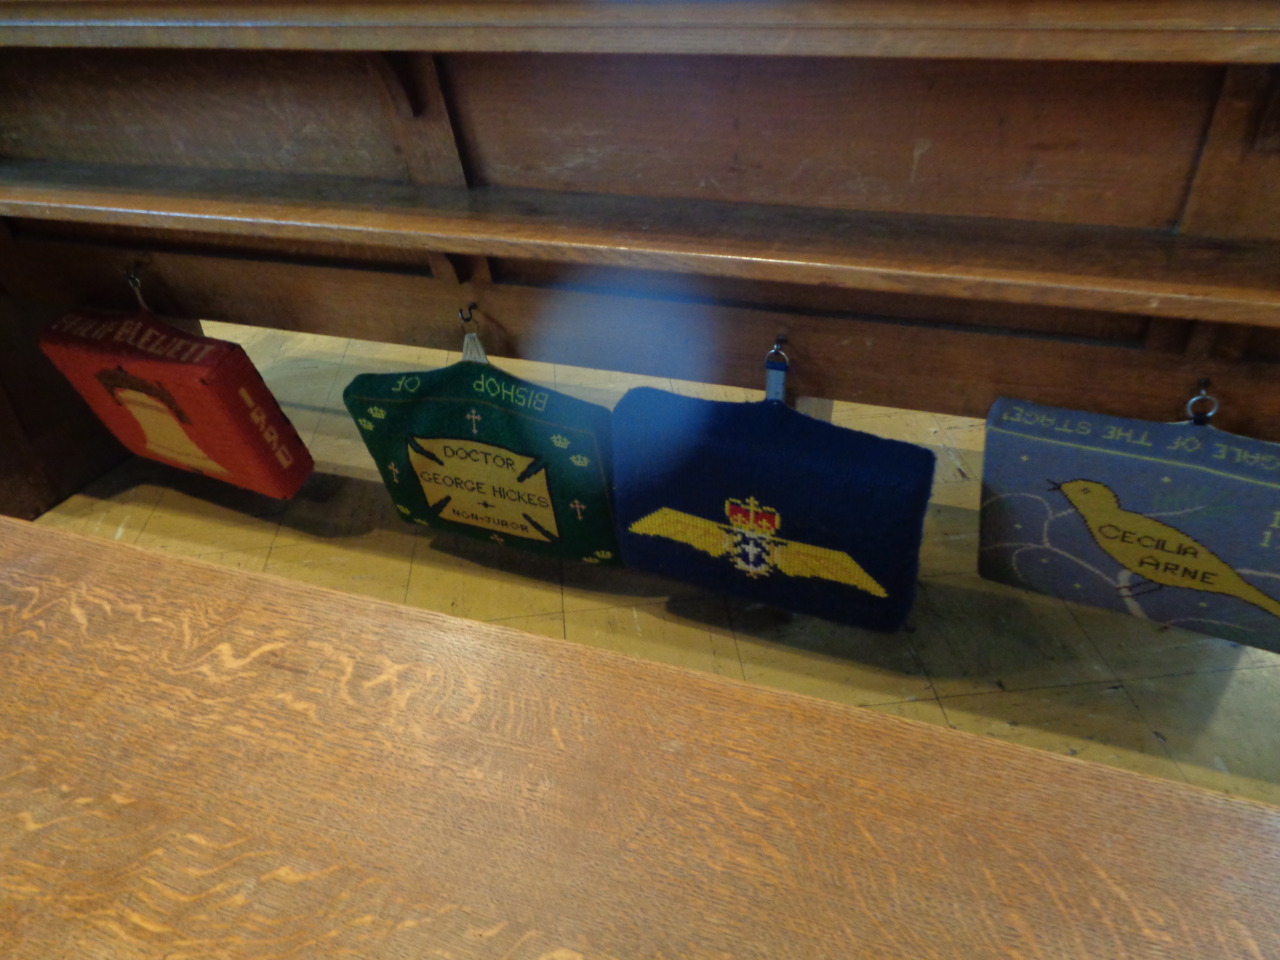
See the weird rectangle-shaped objects hanging below the pews? They are cushions: each handmade by a member of the congregation, going back generations. Here are some close-ups:

There is also this lovely weaving near the altar.

Another very cool find was the textile collection at the Victoria & Albert Museum.

I was SO excited to see these very famous ancient Egyptian socks made for wearing with sandals (ignore the “shoes” description. That’s for another item). These socks are often cited as an example of early knitting made using one needle, much like nålbinding.

The works below are woven tapestries from Byzantium.

The above is a woven silk piece depicting a bishop. It dates to 12-1300’s Germany or Italy. The very modern (i.e.: cartoon-like) looking face (complete with what looks like spectacles!) just kills me.

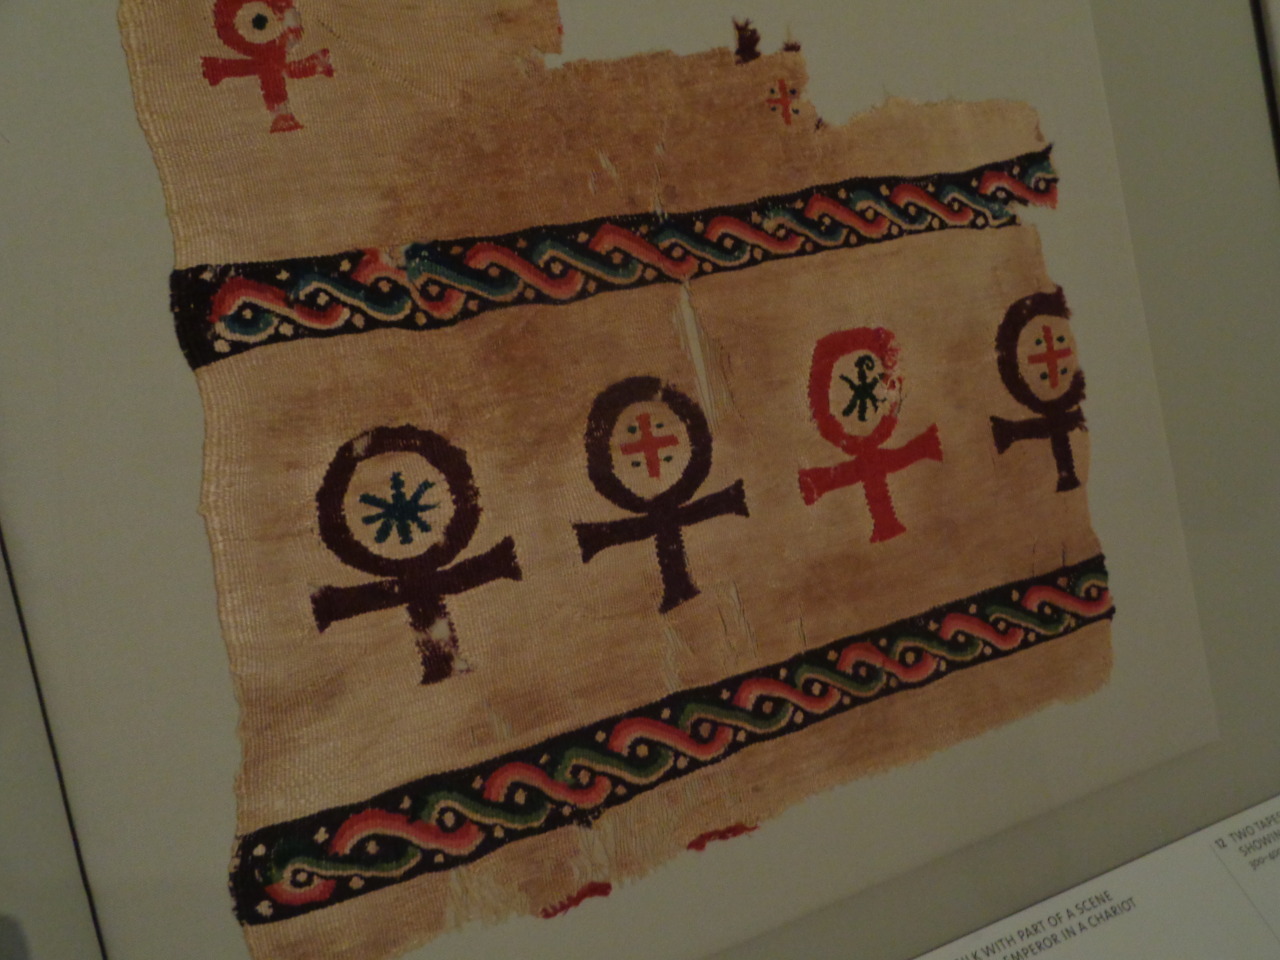
These woven pieces date to early Christianity in Egypt, around 400-600:

Here is a close up of the tapestry on the left. It depicts ankhs – an ancient Egyptian symbol of life that was adopted by the Christian Copts around the 4th century.

Below we have a quilt dating to 1360-1400. Probably made as a wedding gift, it depicts fourteen episodes from the adventures of Tristan. It was hard to take in all the detail on our camera, but you get the idea: lots and lots of stitching BY HAND. So gorgeous. It really has to be seen in person.

This next one is obviously a passion of the Christ scene. Probably from France around 1400-25. Once again woven BY HAND, folks. Our tour guide told us it took a professional weaver about a month working full time (sunrise to sunset) to make 1 square meter. Remember, most of these were big enough to cover a castle wall!

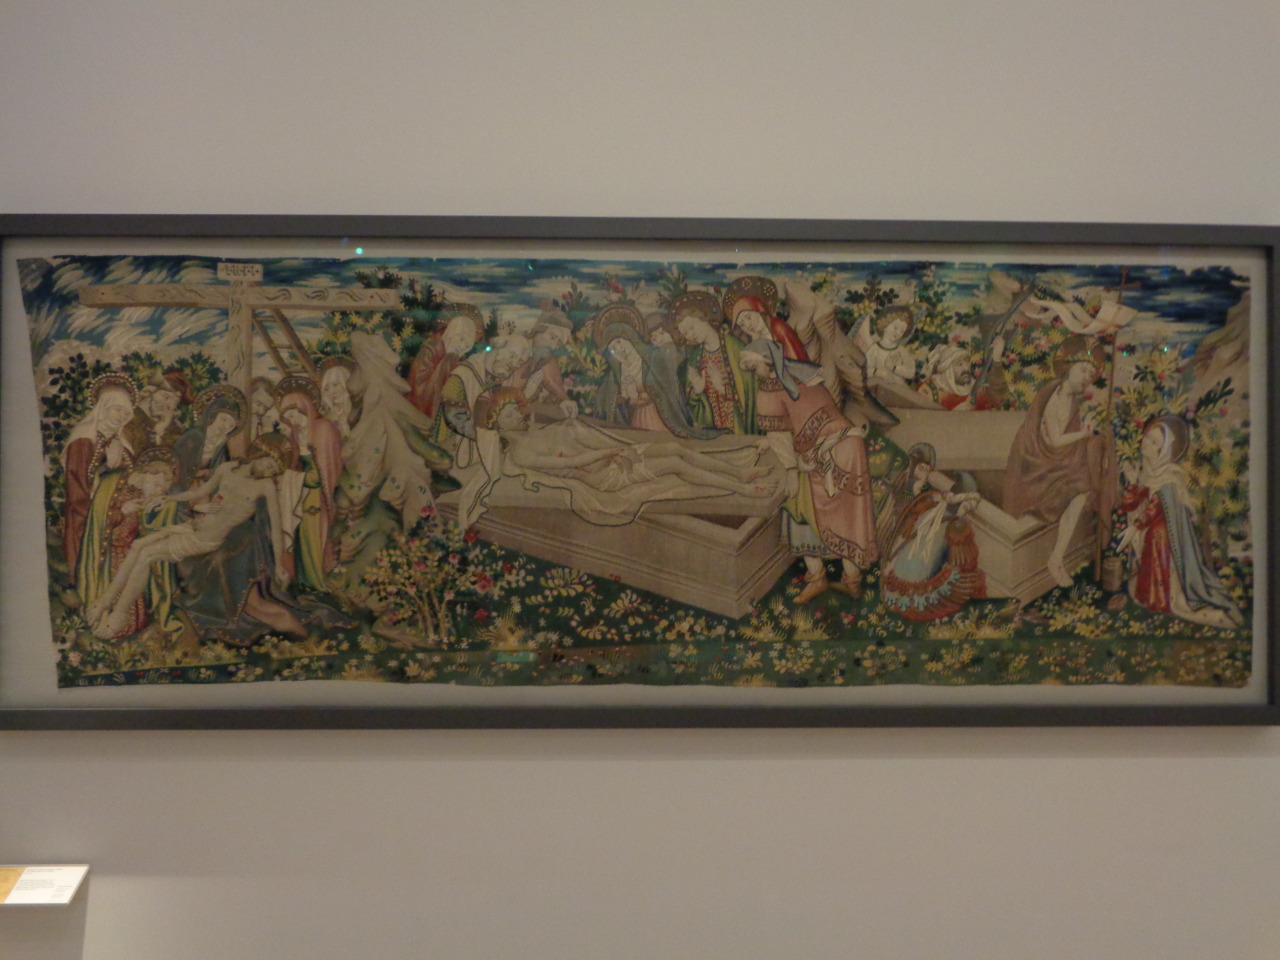
By the way, if you’re curious why tapestries were so common in the medieval period, here’s an answer: no central heating. Well-to-do homes that could afford tapestries were also typically made of stone. That sh*t gets cold!

We also got to see the famous, and enormous, ‘Boar and Bear Hunt’ woven wool tapestry, probably made in Arras, France or Tournai, Belgium around 1425-30.

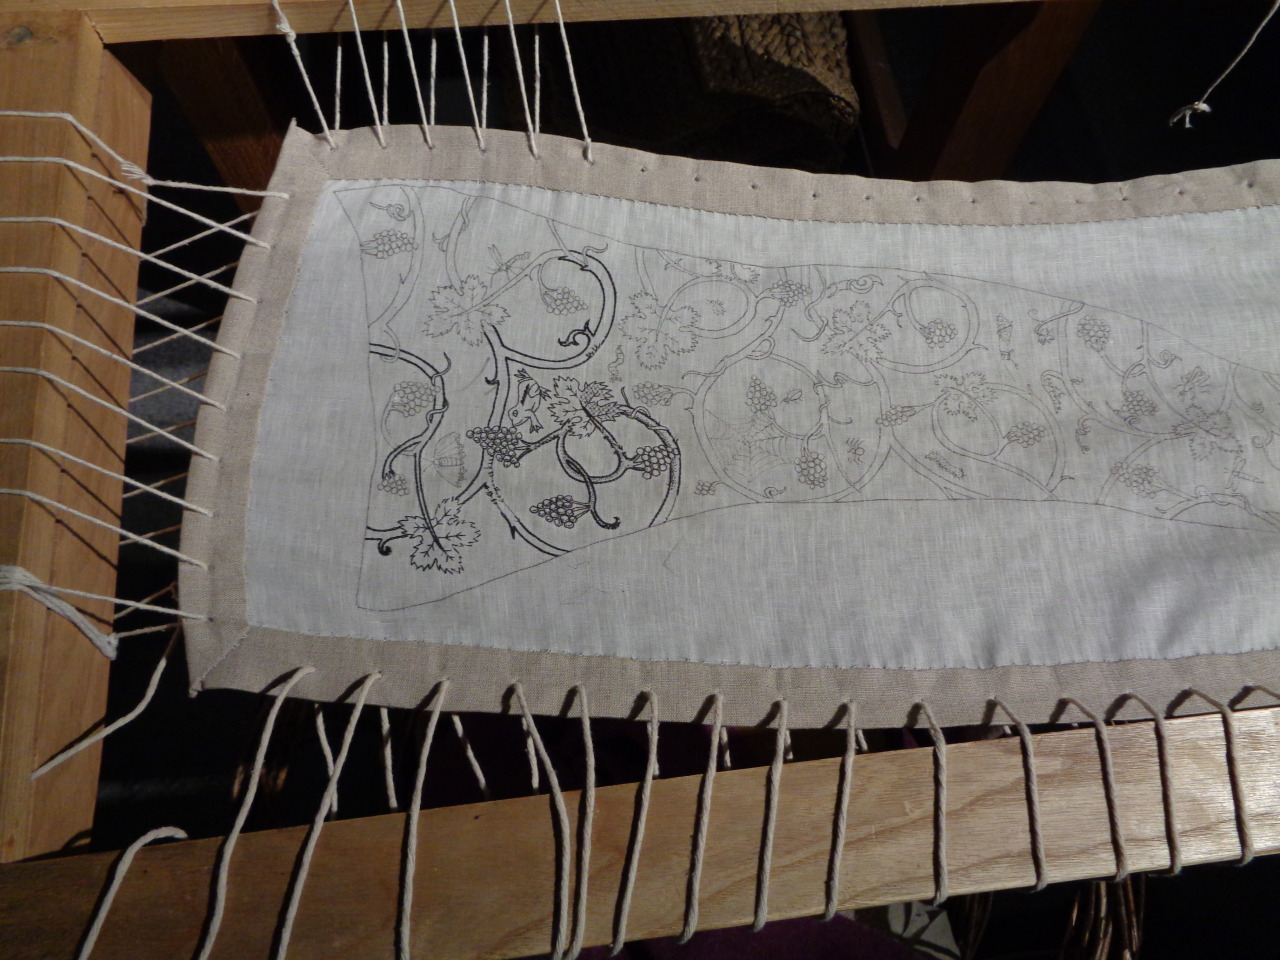
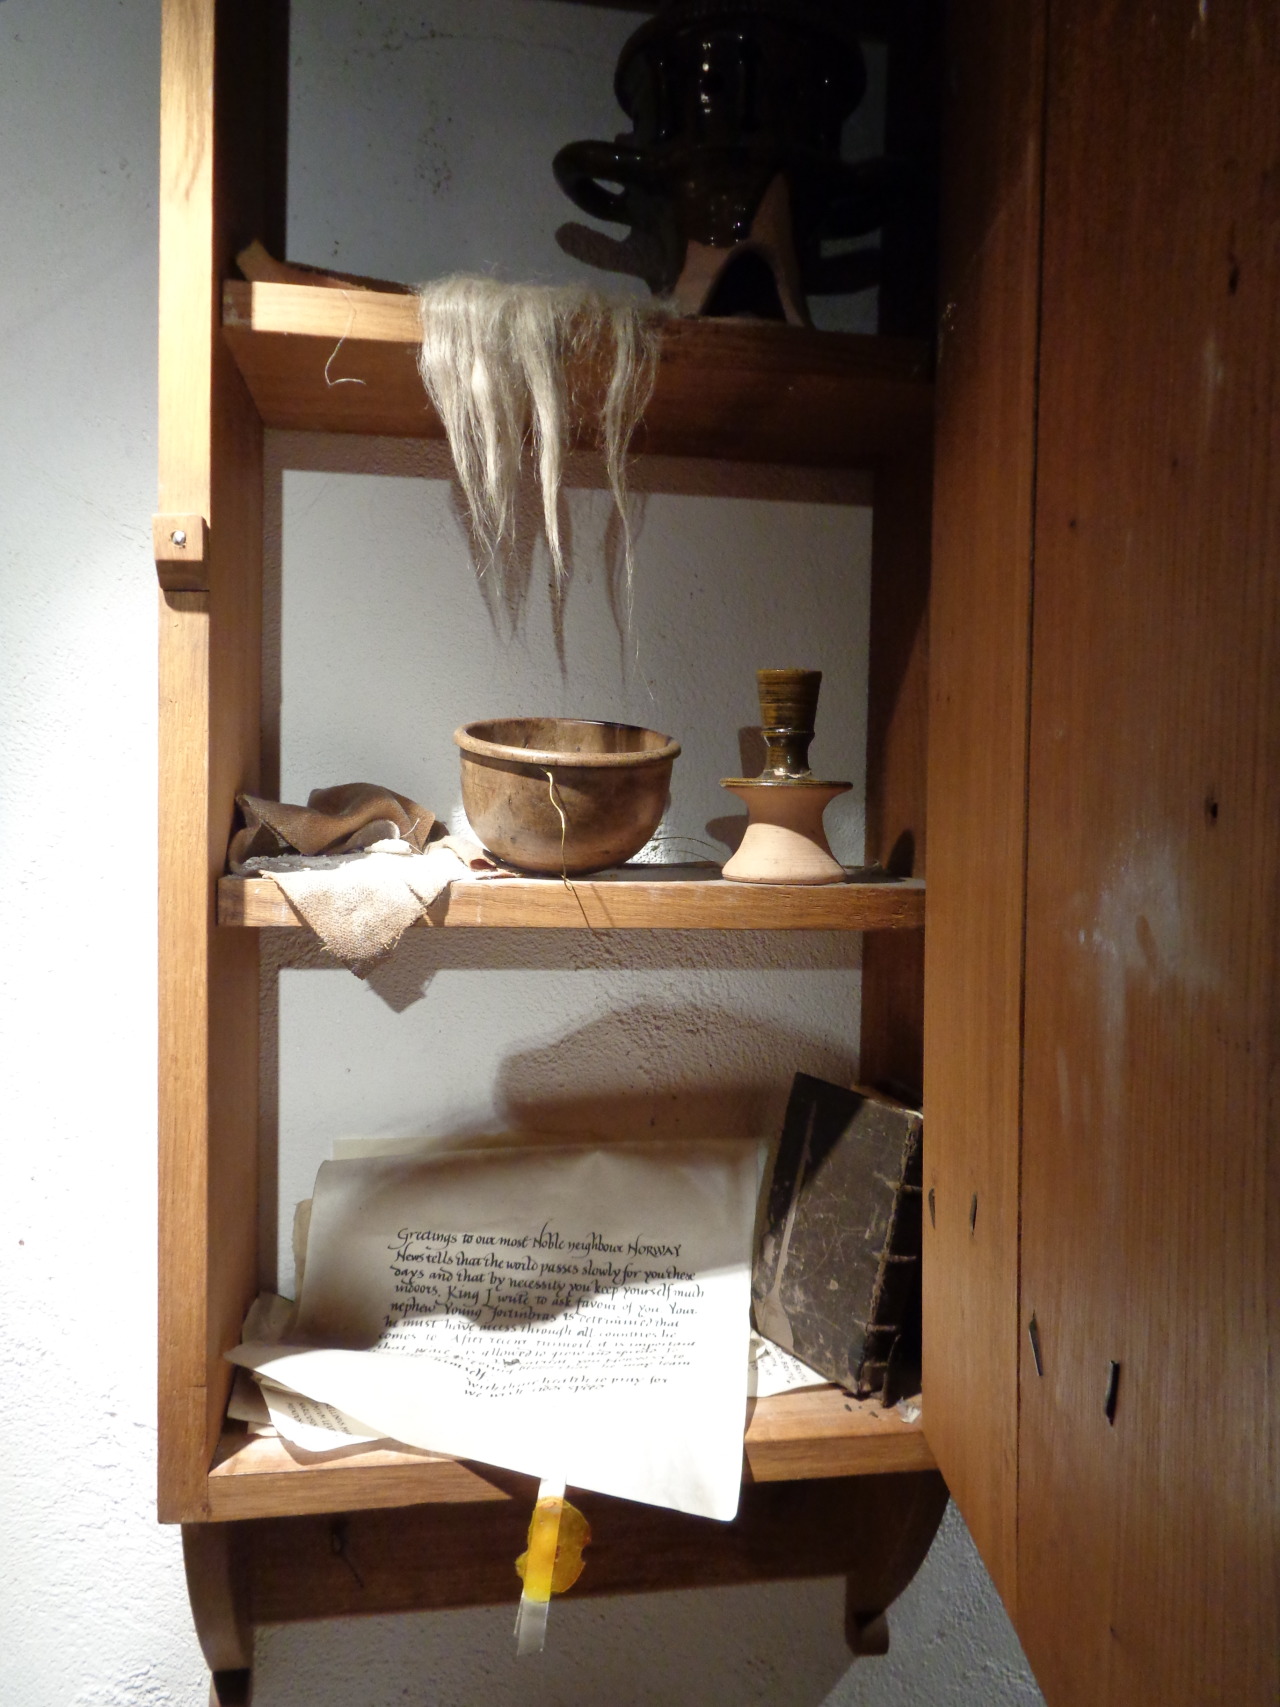
The last fibre arts related stop that we made was at the Globe Theatre. I was super stoked to find a whole reproduction of an Elizabethan costume textile workshop in the museum.

Can you say “heaven”?

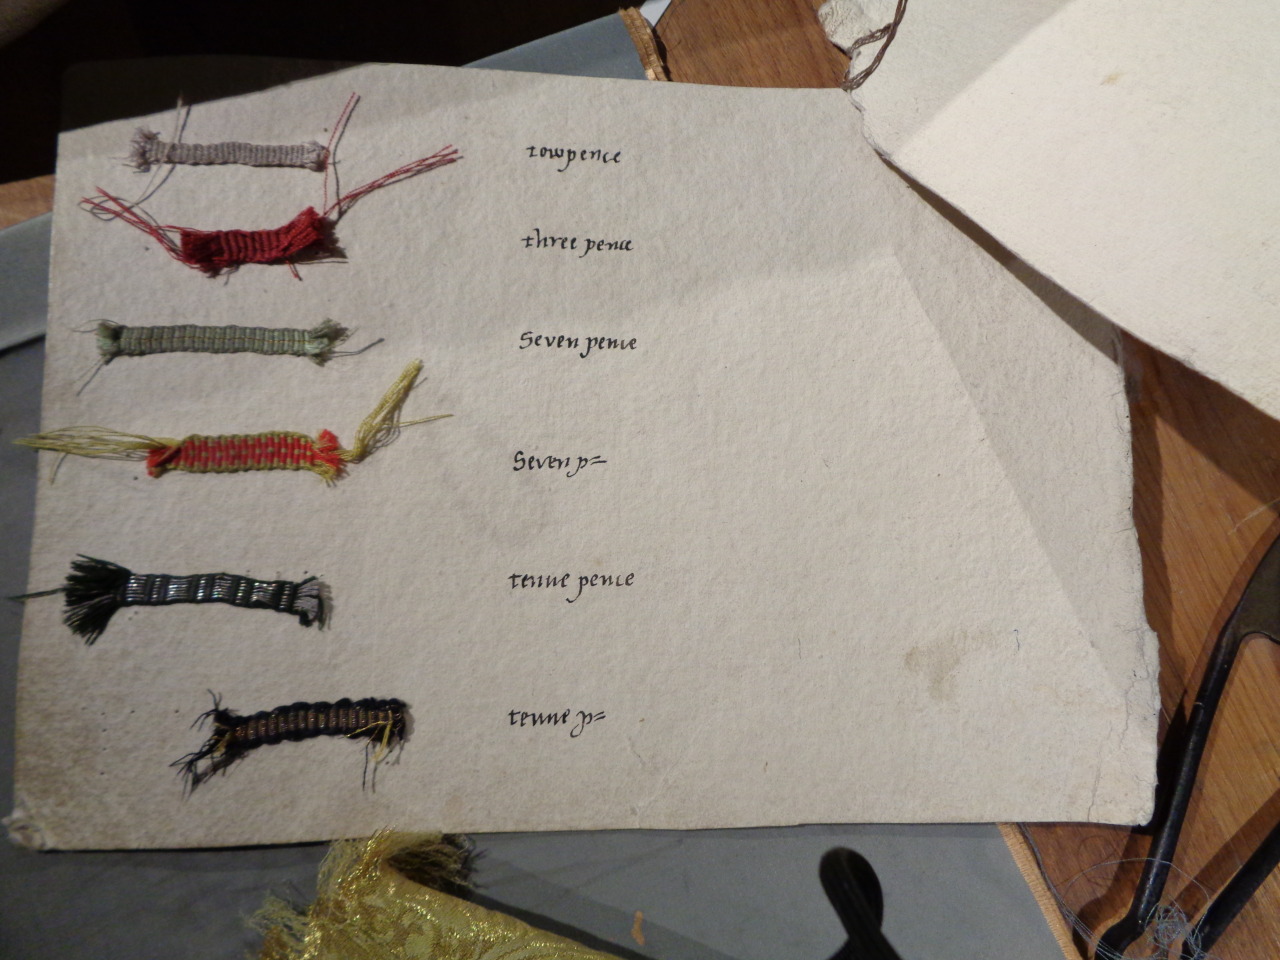
I really doubt that the following close-up images need introduction. Fleece, yarn, dye pots, sewing, pattern drafting, embroidery and lace work, it’s all here.

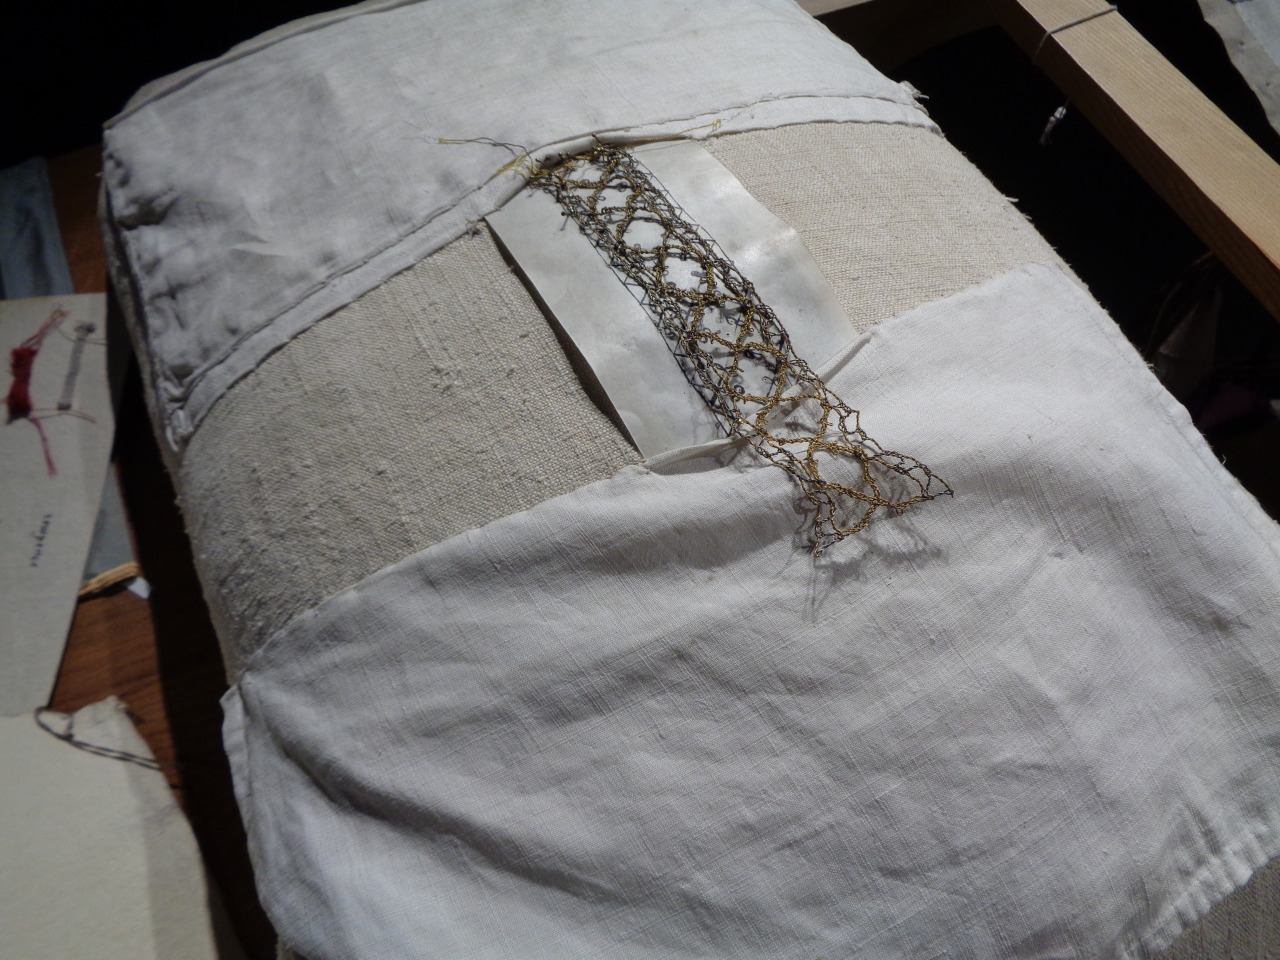
Pssst: the velvet above is authentic 15th-17th century Spanish and Italian handmade velvet.

And here we have the costume worn by an actress who played Queen Elizabeth at the Globe re-opening.

Check out the handmade lace!

I’ll end with this cool video my husband took of the Swiss Glockenspeil in Leicester Square near Piccadilly Circus/Covent Garden. Not textile related, but still a pretty cool handicraft.

Other arts involving string

Just thought you might enjoy a gander at some of the gorgeous work done by members of the Scarborough Needlearts Guild. They had samples of their work on display at the library last week and taught interested people how to use a needle and thread to make works of art.


“L” is for Librarian! This one’s my favourite 🙂

Making Maker Programs

In case you haven’t heard, maker culture is here, it is awesome, and it is an integral part of the future of libraries (don’t believe me? Read this).

Over the past 6 months or so a colleague and I have introduced a maker program for kids at our library called. We choose science, technology, and art activities that are self-directed, allowing the children to use their imagination and inventive skills. We’ve done everything from making musical stairs and game controllers out of MaKey MaKey, to making boats out of recycled material and then having a contest to see which boat can float the most potatoes, to creating stamps for making prints, to making and launching foam rockets.

This past Wednesday we experimented with squishy circuits. Squishy Circuits is a project that came out of the Thomas Lab at St. Thomas University’s School of Engineering (watch the TED Talk here) with the goal of exposing children to electricity, physics, and engineering in a fun and interactive way – with LEDs, toy motors and buzzers, and dough!

A Creeper from Minecraft with a glowing heart (LED covered in conductive dough) created by one of our kids.

I had to adapt the Squishy Circuits program to our library’s environment. Our demographics are such that we get a lot of younger children as opposed to adolescents and teens, many of whom struggle in school for reasons as varied as socio-economics and being newcomers to Canada. Socio-economics is also why many of the kids in our neighbourhood are not familiar with electronics and technology. Hence I needed to keep our Squishy Circuits program simple and be sure I gave them a little bit of preamble on the basics of circuits, and show them a couple of examples of squishy circuits I made in advance. Though many people involved in maker culture will tell you this goes against the investigative spirit of maker culture and its focus on learning through doing and learning from failure, I can tell you that if I didn’t do this the kids wouldn’t have had the slightest idea what to do and therefore had no starting point from which to start experimenting – they would just leave in frustration. It has happened before. Through trial and error I found that once I do this preamble, they get it and are fully willing and able to experiment and explore on their own. They might need a little more coaching and/or reminding here and there of the science or concept behind what we are doing, but by the end they usually all get it.

So, without further adieu, here is my program outline as a pdf:

Squishy Circuits as a public library kids program

It covers the teaching method I used in order to communicate to the kids the concepts necessary to understanding how to make use of the dough and electronics. It also talks about safety concerns and the materials you’ll need. Below I go over how to find and assemble the electronic components if it’s not something you are familiar with (how to know which battery packs to get, what voltage should the LEDs and motors require, how to solder, etc.). Unfortunately the Squishy Circuits website doesn’t cover this. But believe me, the materials are all readily available and no great knowledge of electricity and electronics is required. This whole tutorial is also available on Instructables.

These battery packs, toy motors, and LED lights I bought at an electronics hobby store because I found them there at the best price (budgets are always a concern for libraries!) however if you take apart many toys and gadgets, you’ll find these items inside.

If you find you have bare wire ends like this

     or this    

then you will need to solder terminals on. Terminals can be bought very cheaply at hobby and electronics stores, or online. I used fork shaped ones like this

but really, you could use spade or circle shapes too. It doesn’t matter. I like the ones with an end that is meant to be crimped to the wire with needle nose pliers or a wire crimper (see photo). It just makes the soldering part easier because the terminal will be kept somewhat in place. Heck, if you are really good and the terminal holds on its own after crimping, you might not even need to solder. But, if you have super steady hands, or a second set of hands to help you, then go ahead and try the flat end ones! Just don’t buy terminals with a plastic end. You will have nothing to solder to!

A soldering iron and solder can be bought at an hobby/electronics store, or a hardware store. A cheap soldering iron will do the job just fine, and any solder is good as long as it is not a super thick gauge and it is not acid flux. No clean is ideal, and lead-free is not, but these are not hard-and-fast rules.

I promise that soldering is not that difficult. In fact, it’s a lot of fun. Here is a great tutorial.

A quick note: if you find you have some sort of specific end to a battery pack, like the one below, you can still use it. You will just need a wire stripper/crimper to cut the end off and strip back some of the black and red coating to reveal the wire in order to be able to solder it to a terminal.

In terms of what kind of battery pack to get, it is actually not a huge deal. 4 x AA is ideal, but we were able to get 2 x AAA to work, though the battery wires had to be placed very close to motor or LED light within the dough in order to work. Also, the lower the volt requirement for the LEDs and motors, the easier they will be to make run.

The dough instructions are of course very simple. Just follow the directions on the Squishy Circuits website.

Et voilà!

That’s it, now you can get makin’ :

Make your own purse from duct tape

Just a quick post to share a free craft pattern I’ve developed.

At work we needed to have programs for the tweens and teens this summer that were of a creative, crafty, makey variety. So, I thought about duct tape, simply because it’s easy to make cool stuff with and it comes in some pretty neat colours and patterns now.

Then I thought “what can we make with it?” It had to be simple but useful. I decided on clutches and/or wallets (made the same way but a smaller size). I spent some time Googling, some time looking at books like this one.

But I wasn’t really finding what I wanted. This and this were the closest, but no real instructions were given.

So, I wrote Make your own clutch.

Here are some pictures of the fun the kids had, and how super creative they were!

 (cropped to remove faces for privacy. These are kids after all)
Copy of clutch craft 3

Copy of clutch craft 7

Copy of clutch craft 5

clutch craft 9

Copy of clutch craft 6

Noodle

I came into work the other day to find this little gem on my desk.

Isn’t she cute?! She’s from the book Noodle’s Knitting by Sheryl Webster, illustrated by Caroline Pedler.

A coworker from another branch (the same lovely individual who made this) made her for a knitting and fiction themed craft program and, knowing I love the book and have used it in storytimes more than once, made a second one for me.

I was so touched! Not to mention thrilled to be able to put something this adorable on my mantle. Right now she’s sitting beside my TARDIS, a product of the Ravhellenic Games. Mine is definitely the home of a nerdy knitter.

Speaking of knitting themed picture books, I don’t believe I’ve shared this other favourite of mine yet (hard to believe since I’ve written about them here and here):

Extra Yarn by Mac Barnett, illustrated by Jon Klassen.

These two images from the book pretty much sum up how awesome it is (though there is a great review here if you need more convincing):